
I’ve been reading a lot about PICO-8 recently, and found it really interesting. For the uninitiated, PICO-8 is a ‘fantasy console’ - a games console which exists purely as a program and set of development tools, rather than a real piece of hardware. Developers can create games for PICO-8 which are small enough to be embedded directly into a .png image, which is really cool.
I’d been under the impression PICO-8 was actually a specification for a fantasy machine that anyone could build their own implementation of. Unfortunately this isn’t the case - it’s a closed-source program, which seems a bit odd considering the games have to be fully open-source and editable. Oh well. It did lead me to wonder if it’d be possible to get PICO-8 games playing in a terminal. That’s a whole ’nother project, but I decided to tweak Termloop, my game engine, slightly, to make these sorts of games look better.
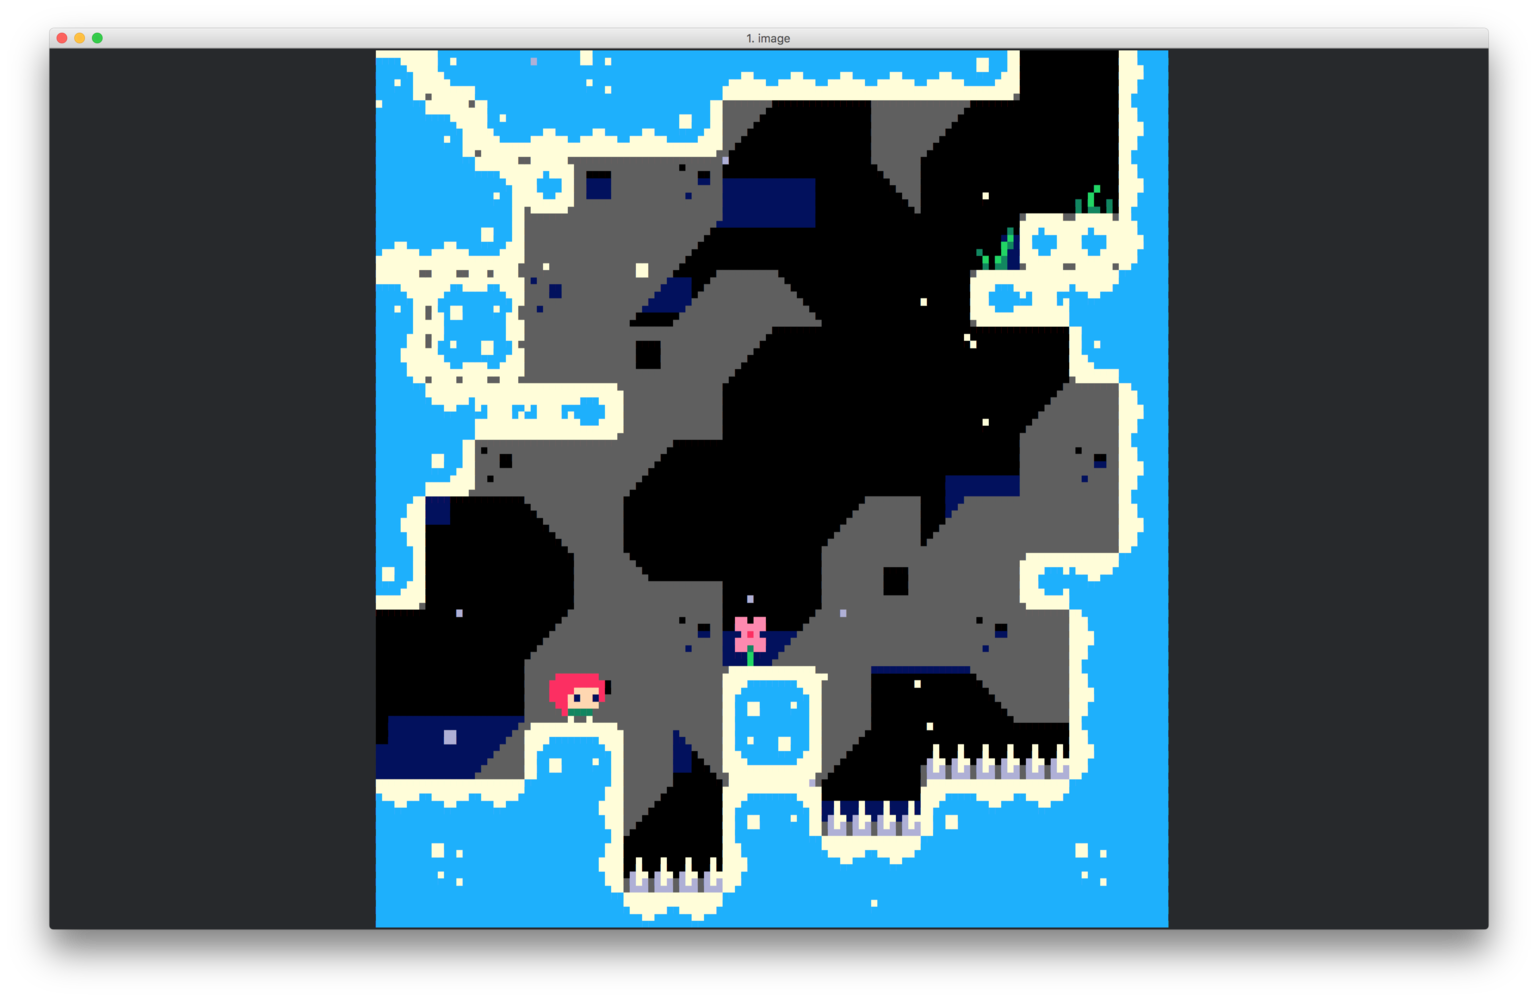
Normally, Termloop renders games in the way any other terminal application does. A cell is a rectangular shape, and has a background colour, a foreground colour, and a character. This means Termloop’s ‘pixels’ are rectangles rather than squares. Here’s a screenshot from the PICO-8 game Celeste.
Rendered using Termloop’s image viewer, it would look like this:
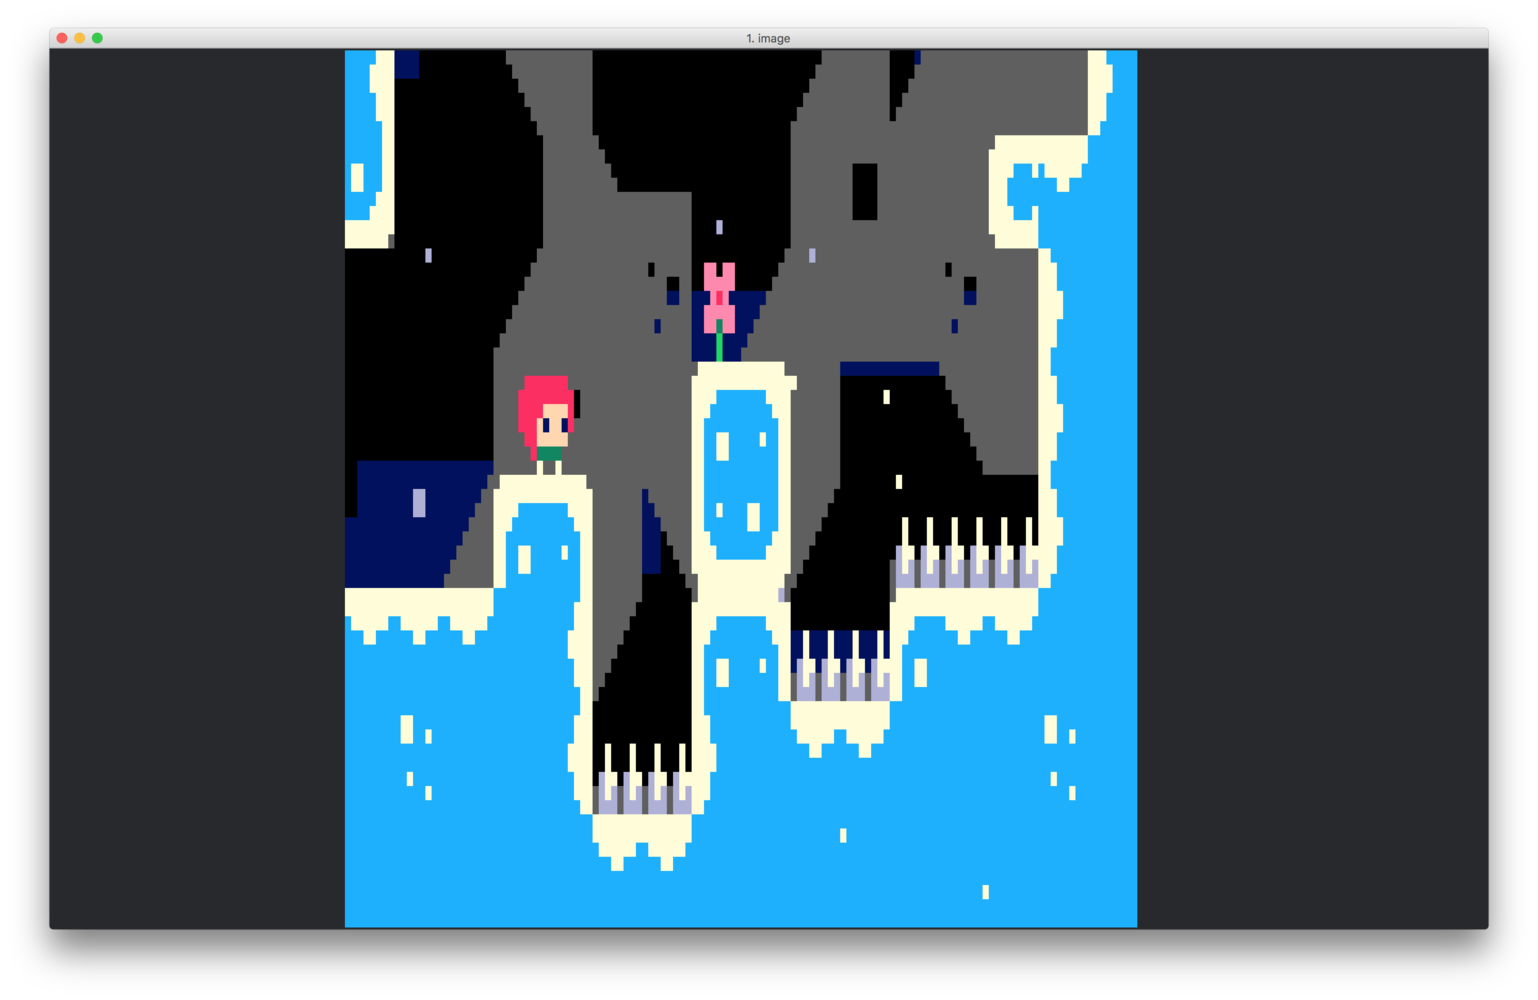
The image is very stretched, and we can only fit the lower half on-screen. What we can see, then, is that we’d ideally like to draw two square ‘pixels’ in each rectangular terminal character.
One solution would be to ask users to fiddle with their font settings so that their font’s widths and heights were similar. Obviously this isn’t ideal. Instead, we can use Unicode block elements.
▁ ▂ ▃ ▄ ▅ ▆ ▇ █
We want to fill half the terminal character with a different colour, so the one we want is called “lower half block”, and looks like this:
▄
Of course, there’s a tradeoff to be made. In using these half-block characters, we use up the text value for that terminal cell. This means that, when using pixel mode, a Termloop game will have double the screen height, but will only be able to use cell background colours. For many games, this may well be worthwhile!
Changes to Termloop
The changes to Termloop’s code are fairly straightforward. First, a Screen struct now contains a boolean which says whether or not it’s in pixel mode - the default is false.
type Screen struct {
    // ... other stuff ...
    pixelMode bool
}
There’s also a new method, which a user should call right at the start of their program, before they call tl.Start().
// EnablePixelMode sets the screen to 'pixel mode' - giving double
// the canvas height while sacrificing character drawing ability.
func (s *Screen) EnablePixelMode() {
    s.pixelMode = true
}
Internally, the canvas needs to be represented as twice the height of the actual terminal. This is so developers can write their rendering code without needing to worry about whether or not they’re in pixel mode - as long as they’re just using Cell.Bg, anyway. The Screen.Resize() method is tweaked slightly.
func (s *Screen) resize(w, h int) {
    s.width = w
    s.height = h
    if s.pixelMode {
        s.height *= 2
    }
    c := NewCanvas(s.width, s.height)
    // blah blah...
}
Finally, the rendering process while in pixel mode needs to be slightly different.
func termboxPixel(canvas *Canvas) {
    for i, col := range *canvas {
        for j := 0; j < len(col); j += 2 {
            cellBack := col[j]
            cellFront := col[j+1]
            termj := j / 2
            char := '\u2584'
            if cellFront.Bg == 0 {
                char = 0
            }
            termbox.SetCell(i, termj, char,
                termbox.Attribute(cellFront.Bg),
                termbox.Attribute(cellBack.Bg))
        }
    }
}
Here, we step through the Cells in a Canvas column two at a time. We apply the background of the upper Cell as our terminal character background, and the background of the lower cell as the terminal character’s foreground colour. If the lower cell has no background colour, we don’t render the block character at all. This is because the ‘default’ colour for a foreground is different from the default background, so rendering the character with colour ‘0’ would result in a screen covered in stripes!
Pixel mode in action
To demonstrate the pixel mode, I’ve modified the Termloop image viewer example, as this seems the most logical example to use pixel mode in. All that needed to be added was one line in main(), like so:
func main() {
if len(os.Args) < 2 {
fmt.Println("Please provide a filepath to open")
return
}
g := tl.NewGame()
g.Screen().EnablePixelMode() // This is the new line!
c := tl.BackgroundCanvasFromFile(os.Args[1])
g.Screen().AddEntity(NewImage(c))
g.Start()
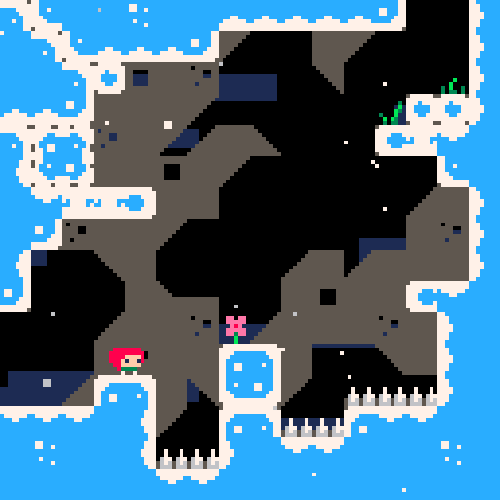
}That Celeste screenshot? It now looks like this in the viewer:

Much better! Everything is proportioned correctly, and we fit pretty much the whole image on-screen. If we tell the Pyramid example to use pixel mode, it looks like this:
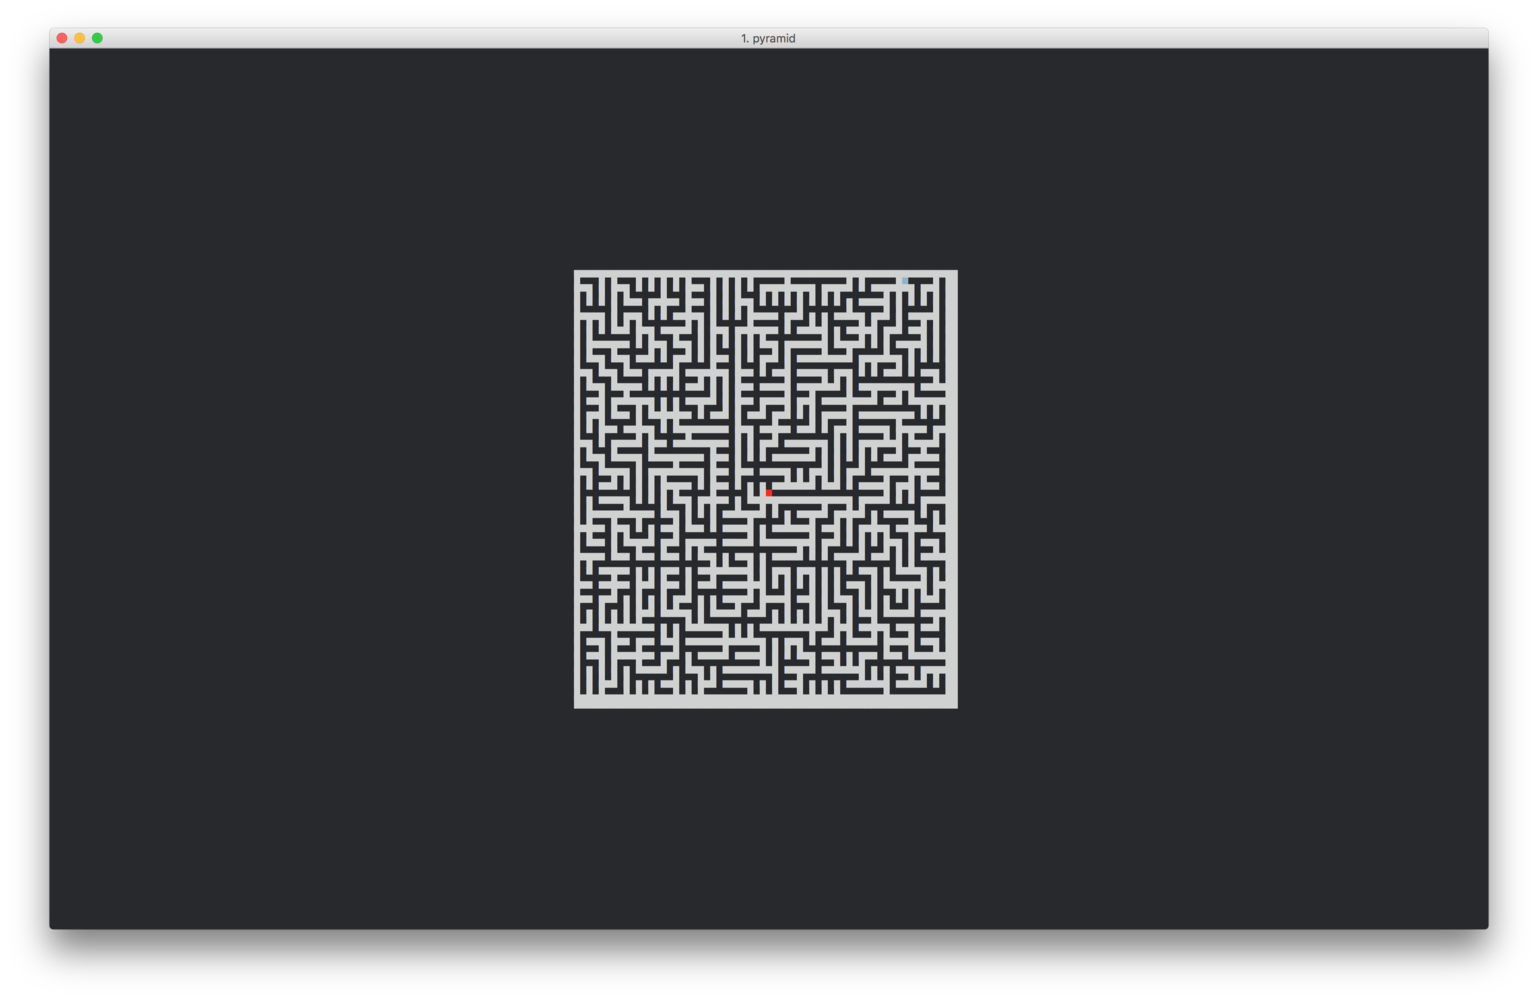
Notice that the text that’s normally in the top-left of the screen is gone - we can’t render it in pixel mode, though if we were brave enough we could draw it in pixels!
Finally, here’s the obligatory Tempa T.
Termloop is open-source, and available on GitHub. You can have a chat to us on Gitter - we’re very friendly!